
I told myself to post this..about 10000x since the last trip to Bali. It's been 3 months since. Time flew by. What a cliche phrase but one so true. How often do you hear yourself or others say this? I'm a victim of myself, a procrastinator. A forgetful one at that. Better pen my thoughts or rather my food sharing before my memories disappear. Zula - a vegetarian paradise as they called themselves, is pretty much that to me. I'm not a vegetarian, don't even like a big variety of veggies but I believe in veg for health. Within my limited repertoire, I love my broccoli, baby spinach, arugula and eggplants. Not a fan of tomatoes ('cept those in Europe) and raw carrots ('cept in carrot cakes) but I add them to my usual bowl for the colours. All time favourite is mushrooms. That's about it for my vegetable story.
So, when I arrived in Bali on my yoga holiday, the wannabe side of me wanted to strive to engage in clean-eating as much as I can. There are quite a number of vegan cafes in Bali and a good number of them that does amazing smoothies (Luv them @Sisterfields). Search on instagram and all the hip places showing the same dishes appeared. Zula was a total accidental find.
 It sits in a row of shops in a small road off the main street of Jl. Raya Seminyak, and the shop front is shrouded in so many hanging leaves I walked past initially, thinking it's some mystic cafe that does tarot card reading. It's on my route out and back to Bali Ginger Suite and one of the hungry nights found me peeking into the cafe, finally seeing it for what it is. A cafe that has a large variety of cooked food, a few chillers of raw desserts and many shelves of packaged organic/raw food/body items. My wannabe self was piqued and it was the start of 4 trips there in my 6 days in Bali.
In my 4 meals plus a couple of takeaways, I've tried their burger, cooked veg, soup, salad, raw desserts, smoothies, juices, wrap and carted back bottles of nut butters, coconut oils, raw chocolates and even cute message cards. It's not just the food but also the warm service. On my first night there where I simply asked for directions back to my hotel, the staff offered to send me back on his motorbike. Where to find such kind people? Bali and Taiwan have lots of them! *Love*

This chickpea burger is my favourite dish from Zula. It's a huge wholemeal roll that sandwiches a crispy chickpea patty and crunchy coleslaw, then loaded with sweet, creamy tofu mayo and a tangy tomato relish. It was a myriad of flavors and textures. The sweet potato fries dipped in their homemade chilli was addictive and I dig the crunchy raw coleslaw with sesame seeds. (I don't even usually like sesame). So Good I had this burger twice.

My 2nd dinner there was a platter of 3 dishes and a hot mushroom soup. Highlight of the meal was the green pea salad. I usually pick out and remove all green peas from my pies but this green pea salad was sweet and almost creamy, finished it all. I could still remember the lingering taste and wishing for it now. Mushroom soup was interesting, it's from a miso base and filled with a uber generous serving of sliced mushrooms. Looks heavy but surprising light in taste.
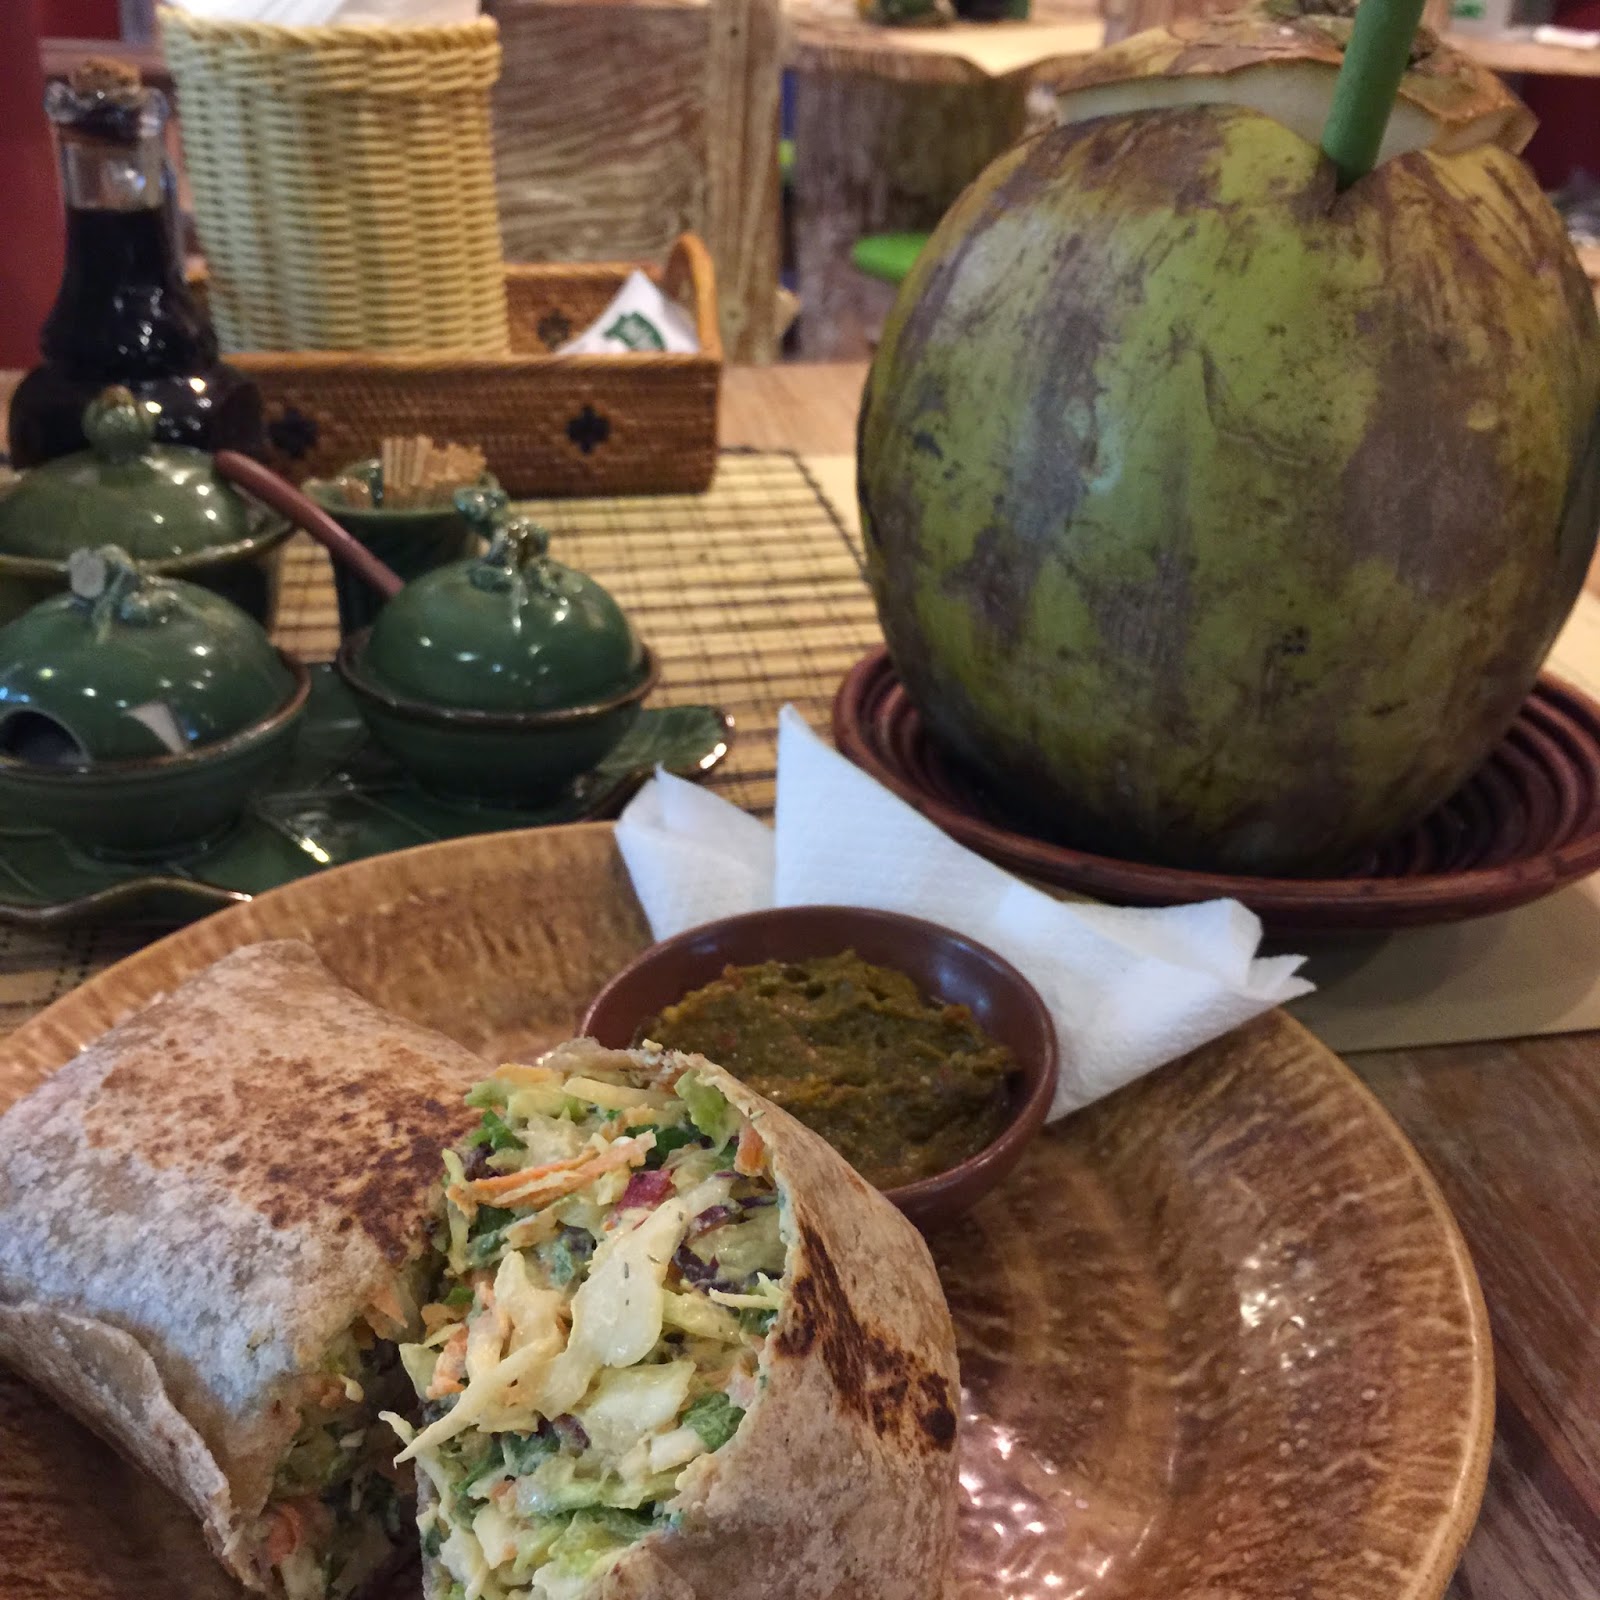
Wholemeal wrap that packs probably a full day's worth of vegetables, this is also a huge roll that was a little too raw for me but still nonetheless enjoyable. Anything there just taste even better with their homemade chilli, that small saucer of it at the side.

The many types of butters available. I bought the peanut butter and tahini sauce. Very little oil in the bottles, taste quite good but not particularly fragrant. Probably wins in the health quotient only.


